Adjustable incline climbing wall
While in San Francisco for a job, I was staying with one of my friends. He casually mentioned that it would be nice to have a training wall, so he could do whatever it is that rock climbers do on things that face towards them. After a couple of heated engineering debates, and a great deal of shlepping and constructing, we had an ajustable incline climbing wall whose slope could be adjusted by one person.
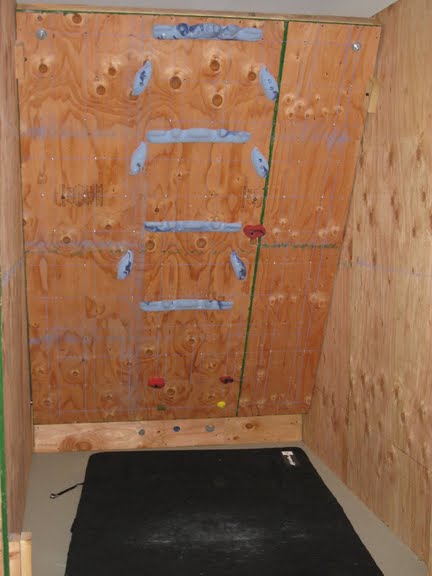 This is the climbing surface. The front is 3/4 inch plywood, 8' from
top to bottom and 6' wide. The front was drilled and T-nutted on a regular
pattern to allow the owner to chang up the hold positioning. At right
and left near the top can be seen the stop blocks, which were screwed
into T-nuts on the side at adjustable slopes. I know
nothing of the climbing holds fit to the wall, as I just built this
to the specs so the hole centers where were they needed to be.
This is the climbing surface. The front is 3/4 inch plywood, 8' from
top to bottom and 6' wide. The front was drilled and T-nutted on a regular
pattern to allow the owner to chang up the hold positioning. At right
and left near the top can be seen the stop blocks, which were screwed
into T-nuts on the side at adjustable slopes. I know
nothing of the climbing holds fit to the wall, as I just built this
to the specs so the hole centers where were they needed to be.
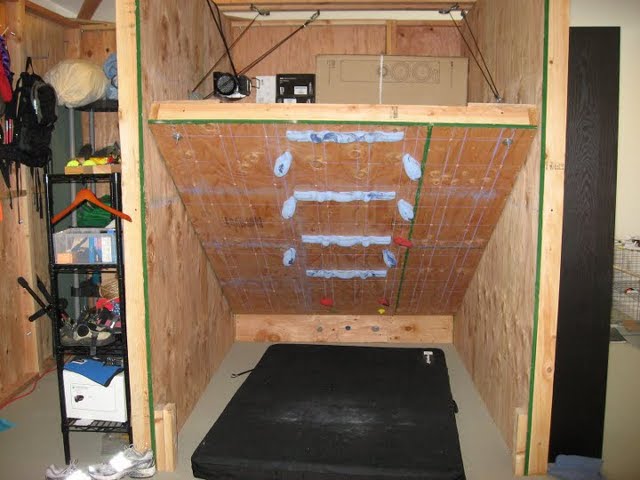 A view of the front with the wall about half-way down. The space behind
was used to store boxes, as it couldn't actually go entirely vertical
due to height limitations of the room in which it was installed.
A view of the front with the wall about half-way down. The space behind
was used to store boxes, as it couldn't actually go entirely vertical
due to height limitations of the room in which it was installed.
 The wall in the totally down position. There were some jokes about converting
the back of the wall into a guest bedroom, and we decided that there
was, in fact, enough room to hold a mattress at the back and still have it
fold up to a useful climbing angle. The space at left was chosen to be used
as a storage facility for climbing and outdoors gear. The carpentry
here is very similar to what I use when building platforms for supprting
humans on stage, with some extra beef added for the climbing surface and
slightly less beef used on the uprights.
The wall in the totally down position. There were some jokes about converting
the back of the wall into a guest bedroom, and we decided that there
was, in fact, enough room to hold a mattress at the back and still have it
fold up to a useful climbing angle. The space at left was chosen to be used
as a storage facility for climbing and outdoors gear. The carpentry
here is very similar to what I use when building platforms for supprting
humans on stage, with some extra beef added for the climbing surface and
slightly less beef used on the uprights.
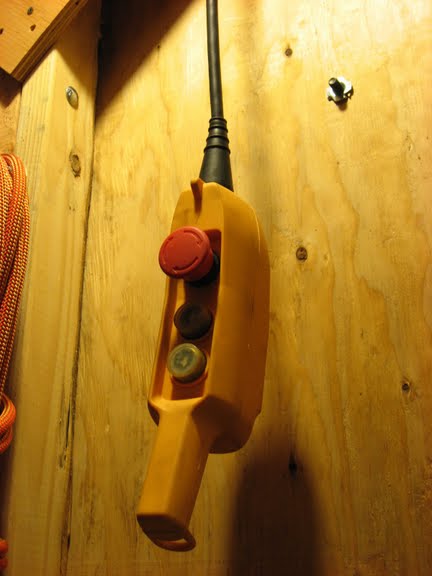 In order to make the up and down easier, we decided to go ahead and put a winch
on it. The weight was born by the stopping blocks illustrated in the first photo,
but raising and lowering the wall by hand is a formidble task. This photo
shows the controls for the winch, including up, down, and emergency stop. Bolting
a winch to a large piece of wood makes for some very seriously loud up-and-down
going. It did, however, allow for very easy and accurate angular control.
In order to make the up and down easier, we decided to go ahead and put a winch
on it. The weight was born by the stopping blocks illustrated in the first photo,
but raising and lowering the wall by hand is a formidble task. This photo
shows the controls for the winch, including up, down, and emergency stop. Bolting
a winch to a large piece of wood makes for some very seriously loud up-and-down
going. It did, however, allow for very easy and accurate angular control.
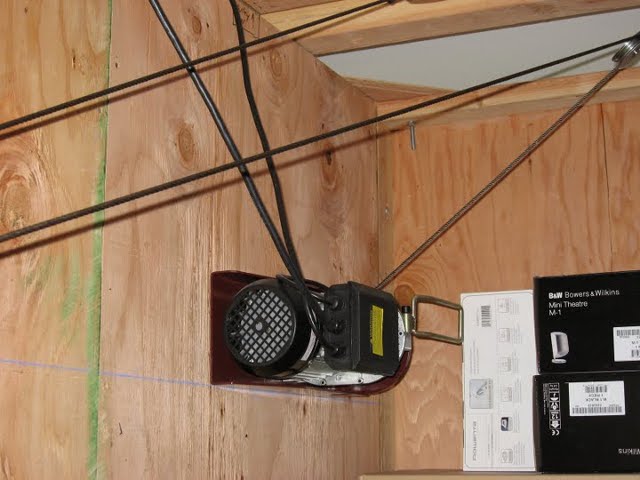 A close-up of the winch used to raise and lower the device. Being budget
constrained, we needed to get a low enough cost winch to meet the needs
as well as be easily mountable. This is why the steel cable leaves the
winch at such a strange angle. The clearances required to keep the cable
bend radii appropriate without scraping on the winch housing required
the angles we used for the cable.
A close-up of the winch used to raise and lower the device. Being budget
constrained, we needed to get a low enough cost winch to meet the needs
as well as be easily mountable. This is why the steel cable leaves the
winch at such a strange angle. The clearances required to keep the cable
bend radii appropriate without scraping on the winch housing required
the angles we used for the cable.
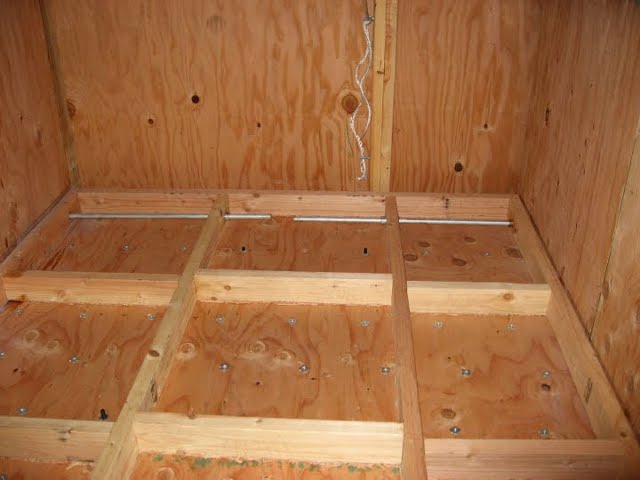 The rear of the climbing surface. All the joints and facing are both
screwed and glued using heavy duty construction adhesive. The hinge
pins at the bottom go through bronze bushings and held on both sides
by screw collars held on the shaft with set screws. Between the vertical
support walls and the movable section are end-to-end bronze bushings,
which keep the wall from sliding left and right as it is operated.
The rear of the climbing surface. All the joints and facing are both
screwed and glued using heavy duty construction adhesive. The hinge
pins at the bottom go through bronze bushings and held on both sides
by screw collars held on the shaft with set screws. Between the vertical
support walls and the movable section are end-to-end bronze bushings,
which keep the wall from sliding left and right as it is operated.
If the wall were to be much larger than 8x6, I would have considered moving to larger timbers. However, with this design, I was able to jump up and down quite vigorously without any detectable deflection in the climbing surface.

